The DDR 2 SDRAM in this example has since been surpassed by DDR 3 and DDR4,
which appeared in early 2011. But the installation steps are identical, the
only thing that's changed (from the standpoint of the PC assembler) is the
location of the slot in the DIMM that prevents non-compatible modules from
being installed. The first step to installing RAM in any motherboard is to
consult the manual to determine the allowable configurations for the memory
modules you have on hand. In this case, we'll be installing a matched pair
of 512 MB DIMMs in dual channel configuration. Once you determine which memory
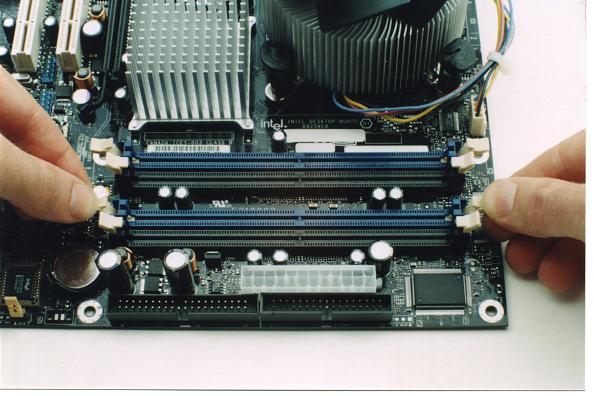
sockets to populate, open the white latches on either both ends of the sockets.
Figure 20: Opening the DIMM socket latches
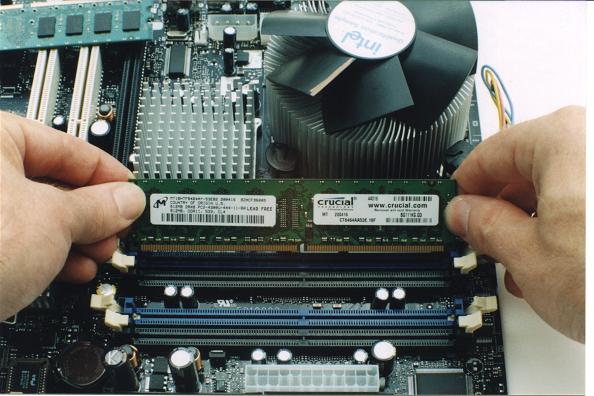
The notch near the center of the edge connector on the memory module must
be aligned with the key in the socket for the module to fit. Because the
notch is so near the center, you may choose the wrong orientation (there
are only two possibilities), hold the DIMM as close to the socket as you
can get it to check you have it facing the right direction.
Figure 21: Checking the socket key alignment
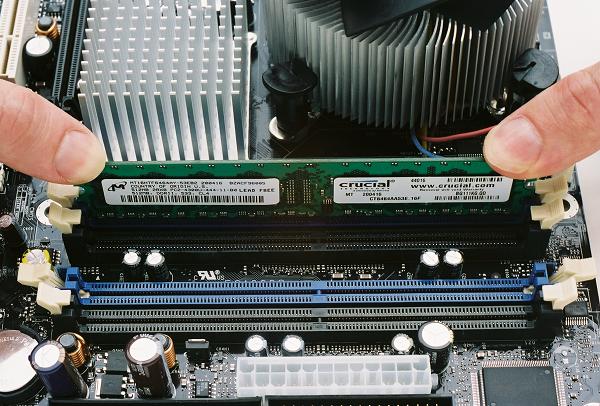
The large number of spring contacts in memory sockets provide a good deal
of resistance to inserting a DIMM. The 240 contacts on DDR2 DIMMs may be
a smaller than the 184 contacts on the standard DDR DIMM, but it feels like
it takes more force to seat a DDR2 DIMM. Push down evenly with a thumb on
each end of the DIMM until the white latches raise to the closed position.
Figure 22: Seating the first Crucial DDR2-533 DIMM
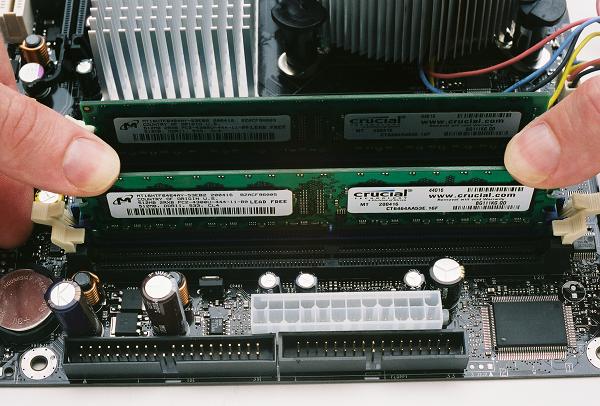
The second memory module is installed in the DIMM 0 socket of Channel B,
to work in dual channel mode with the first memory module, which was installed
in DIMM 0 socket of Channel A. The latest Intel technology actually allows
for interleaving DIMMs in dual channel mode, which means if we had built
the PC with two 256 MB DDR2 modules, we could upgrade the amount to a full
1 GB with an odd number of DIMMs. This motherboard would allow us to use
the original DIMMs together in Channel A, populate Channel B with a single
512 MB DIMM, and still operate in dual channel mode. The same is true for
the larger DIMMs in use today.
Figure 23: Seating the second Crucial DDR2-533 DIMM
No comments:
Post a Comment